iverb
Directions for creating your iVerb project...
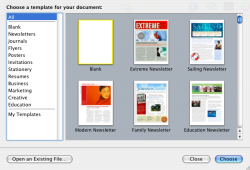
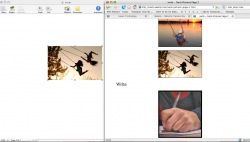
1. Open Pages and choose the Blank Page Template
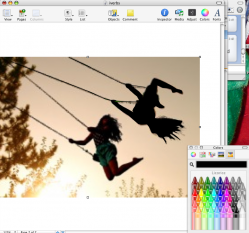
2. Choose a picture from the iVerb picture pages. Drag the picture from Firefox and drop it on the blank Pages page.
3. Resize the picture so that it is as big as you need it to be. (It is easier to trace if the image is bigger!)
4. Choose the tracing tool from the Objects button.
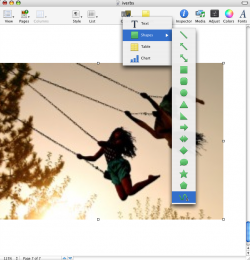
5. Start tracing around your object...be VERY careful to only click your mouse once, if you click twice you will have to start over.
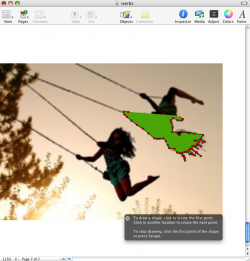
6. Sometimes the tracing will start to cover up the picture so that you can't see where to click next, keep going and guess where the next part of the picture is.
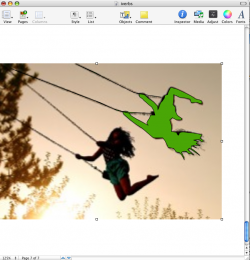
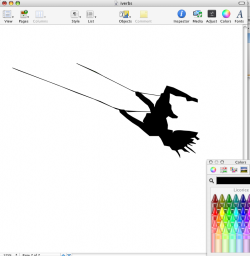
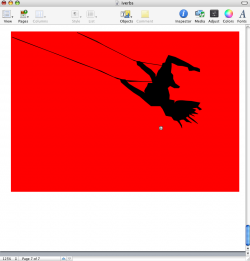
7. Click on Colors...choose black and drag and drop on top of the picture you just traced.
8. Click on the original picture and press Delete. All that should be left is the picture you traced.
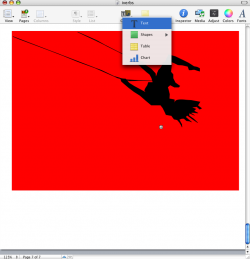
9. Click on Objects and select the square shape.
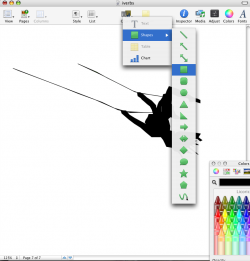
10. Stretch the square so that it covers the pictures and is bigger than the picture.
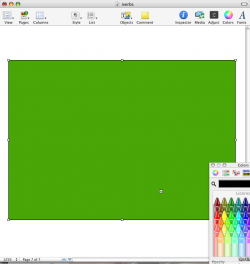
11. Choose a bright color from the Crayon box and drag and drop onto the square.
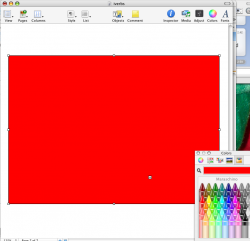
12. Open Inspector by clicking on the blue circle with the i. Click on the circle and square and then change the line color to the same color that you filled your square with.
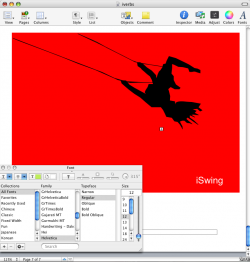
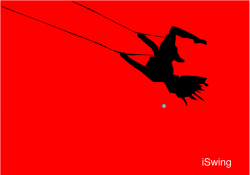
13. Click on the square and go up to 'Arrange' in the menu bar and select 'Send to back' The square should go behind your picture.
14. Click on Object and choose text. Type your iVerb in the text box. Click on the 'Font' button and change the size and font of your text. Change the color to white.